
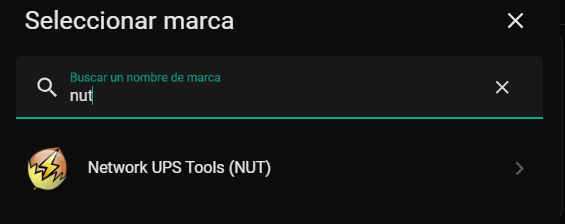
Una vez que tenemos nuestra raspberry pi zero 2 w funcionando como servidor de NUT conectado a nuestro SAI el siguiente paso será añadir la integración desde nuestro Home Assistant , desde integraciones buscaremos por la palabra NUT y nos debería aparecer
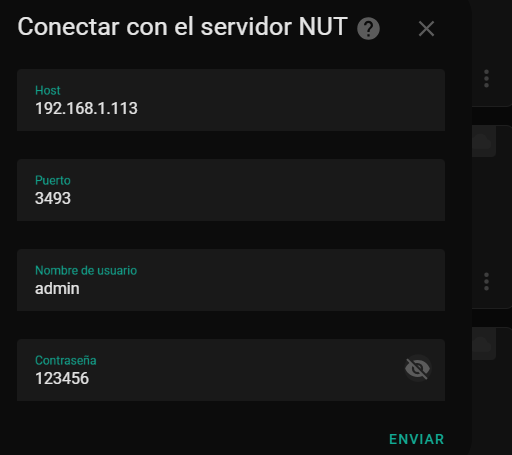
Una vez seleccionada , los parámetros de configuración en este caso son los fijos que obliga QNAP , es decir admin y 123456
Si todo es correcto la nos dará un mensaje de éxito.
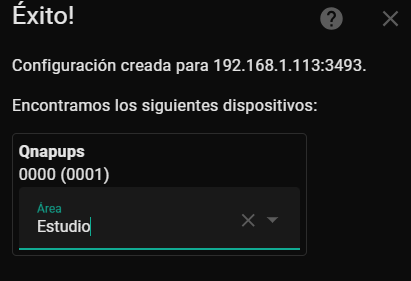
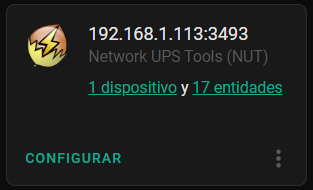
Si vamos a dispositivos veremos como nos ha creado un dispositivo y aparece con un montón de entidades nuevas.
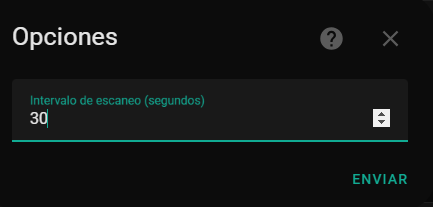
Configuramos el tiempo entre lecturas
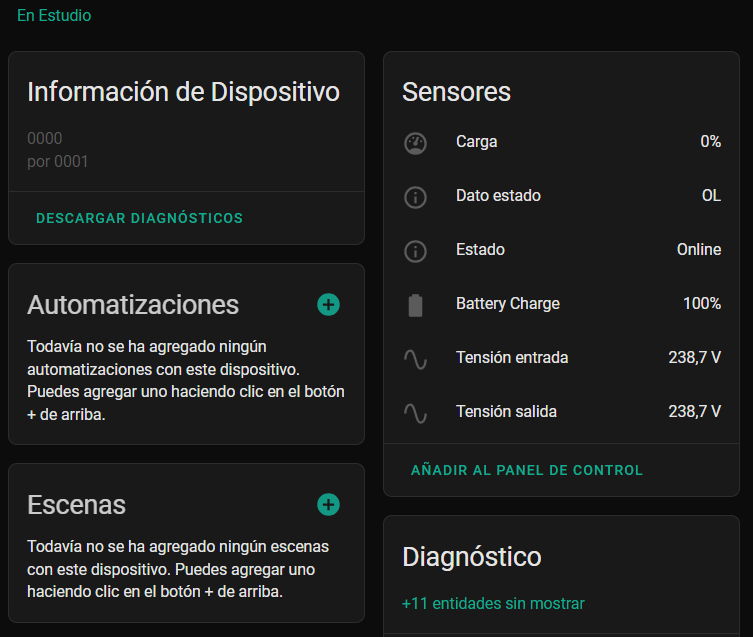
Y si vamos a la información del dispositivo veremos como aparece correctamente y todos los sensores que ha creado automáticamente
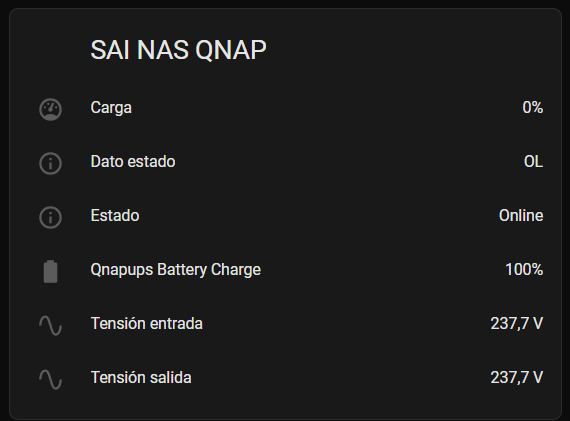
Ya podemos añadirlo en nuestro panel lovelace
      - type: entities
        title: SAI NAS QNAP
        icon: 'mdi:power-plug-battery'
        show_name: true
        show_state: false
        show_header_toggle: false
        columns: 3
        entities:
          - sensor.qnapups_load
          - sensor.qnapups_status_data
          - sensor.qnapups_status
          - sensor.qnapups_battery_charge
          - sensor.qnapups_input_voltage
          - sensor.qnapups_output_voltage
Y nos quedaria aproximadamente así
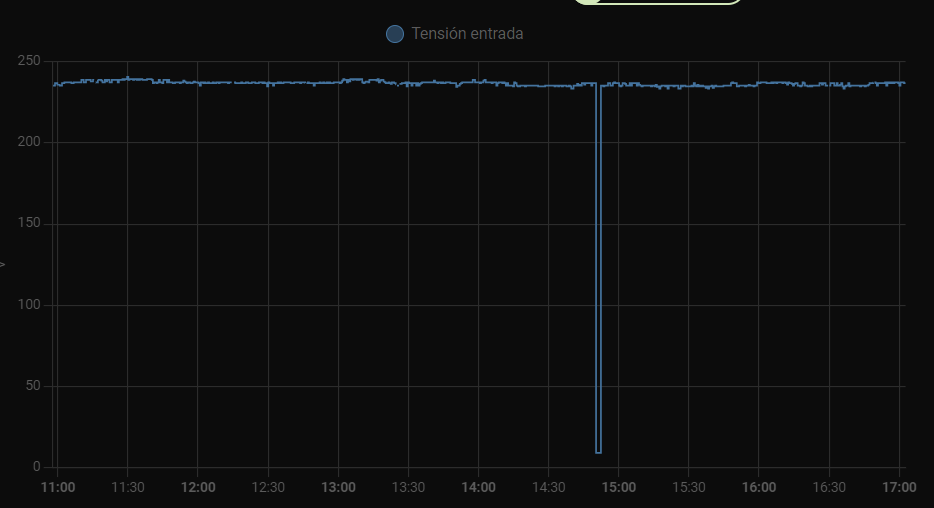
Si lo hemos puesto en la sección recorder veremos como baja el nivel de bateria cuando quitemos la tensión de entrada al SAI
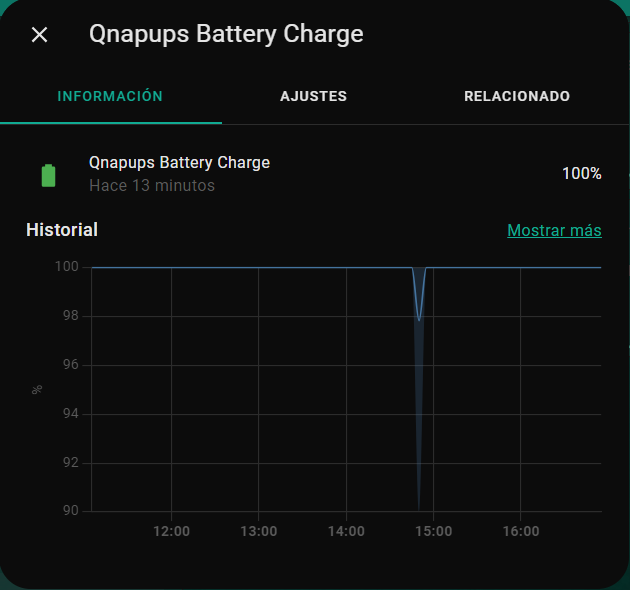
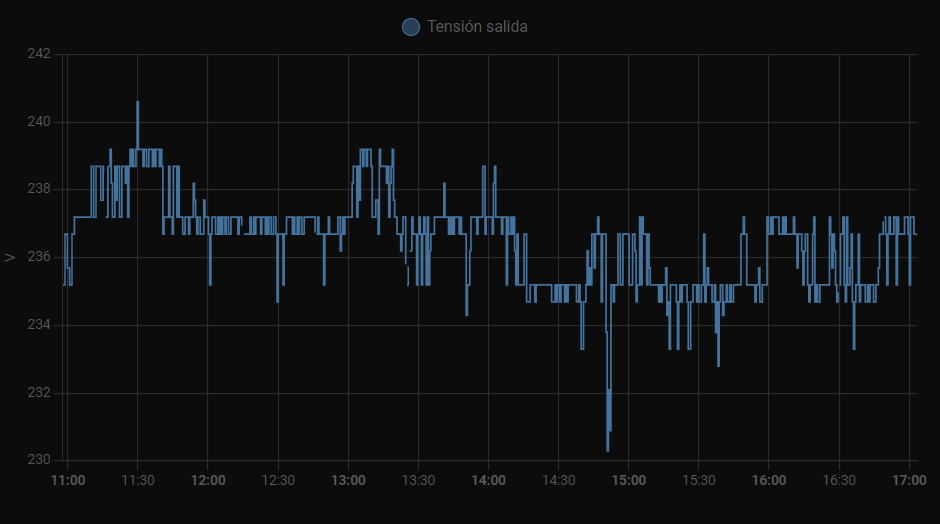
Lo mismo ocurrirá con el sensor de tensión de entrada y salida
A partir de aquí ya podemos hacer todas las automatizaciones que se nos pasen por la cabeza.
Y con estos y un bizcocho …..