- Restaurar vista previa en carpetas de red tras actualizaciones de Windows
De pronto en el trabajo tras una actualización de seguridad de W10 en el trabajo algunos usuarios que usaban de forma intensiva la vista previa en el explorador dejaron de tener acceso a la vista previa , mucha gente no la usa , pero para el que esta acostumbrado suele ayudar bastante al no ir a ciegas antes de abrir cualquier archivo
La causa principal del problema no es un error, sino un cambio de seguridad intencional. Microsoft bloqueó la vista previa de archivos en ubicaciones de red clasificadas como “zona Internet” a partir de las actualizaciones de octubre 2025 (KB5066791 para Windows 10) para prevenir una vulnerabilidad que permitía fugas de hashes NTLM. La solución más efectiva para carpetas NAS es agregar las rutas de red a la zona de Intranet Local o Sitios de Confianza en Windows.
¿ Por qué las actualizaciones rompen esta funcionalidad ?
El cambio afecta específicamente cómo Windows maneja los archivos con “Mark of the Web” (MotW) y los ubicados en zonas de seguridad consideradas riesgosas. Cuando se previsualiza un archivo, los preview handlers pueden cargar recursos externos referenciados, y si estos apuntan a rutas UNC o URLs
file:, Windows puede enviar credenciales NTLM hasheadas a servidores externos.KB específicos que causan el problema: KB5066791 (Windows 10, octubre 2025) y KB5066835 (Windows 11). Estas actualizaciones modifican el valor
URLACTION_SHELL_PREVIEW(0x180F) en la Zona Internet de “Enable” a “Disable”. Desinstalar estos parches no es solución permanente ya que el comportamiento se reimplementa en todas las actualizaciones de seguridad posteriores.Soluciones al problema :
Opción 1
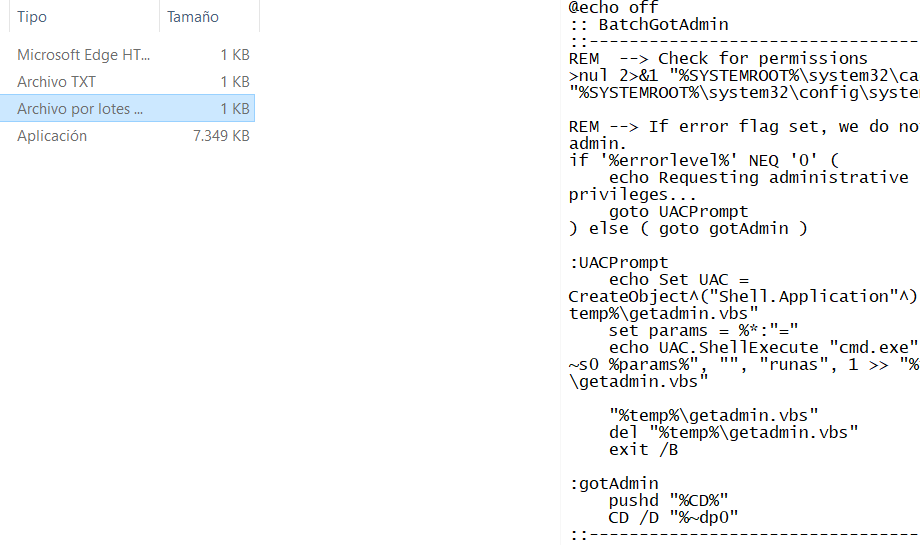
Crear un archivo de texto con el Bloc de notas y guárdalo como agregar_nas.reg:
Con el contenido
Windows Registry Editor Version 5.00

[HKEY_CURRENT_USER\Software\Microsoft\Windows\CurrentVersion\Internet Settings\ZoneMap\Ranges\Range1]
":Range"="10.57.45.XX"
"*"=dword:00000001
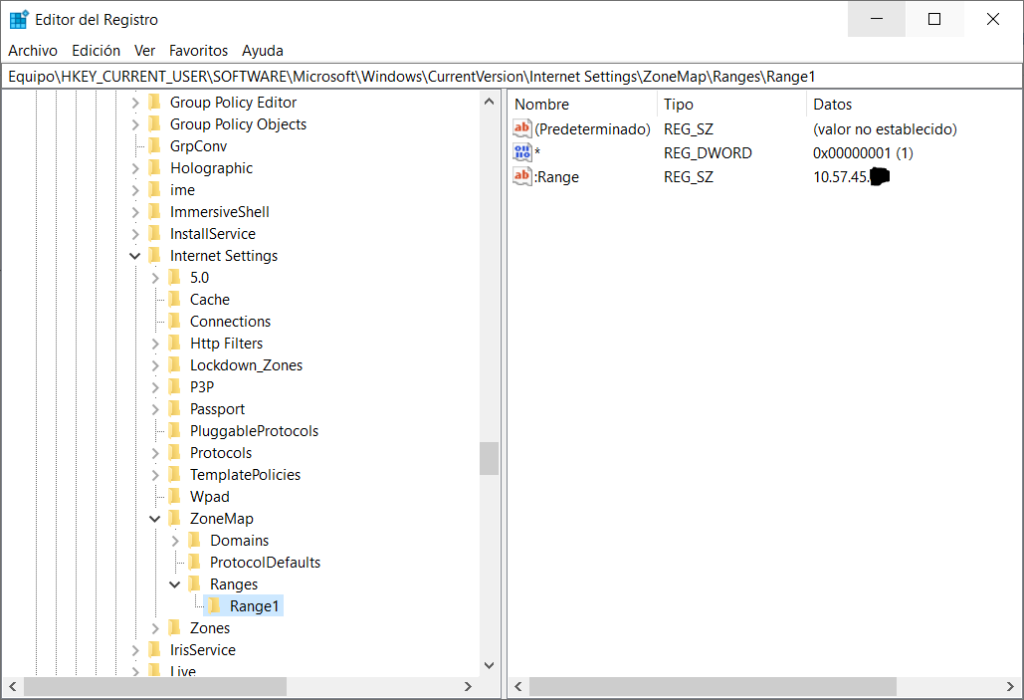
Lo importamos y reiniciamos explorer.exe
Ya tenemos nuestra vista previa funcionando
Si entrásemos en el editor del registro veríamos los valores importados
Opción 2
Abrir PowerShell como Administrador
New-Item -Path "HKCU:\Software\Microsoft\Windows\CurrentVersion\Internet Settings\ZoneMap\Ranges\Range1" -Force
New-ItemProperty -Path "HKCU:\Software\Microsoft\Windows\CurrentVersion\Internet Settings\ZoneMap\Ranges\Range1" -Name ":Range" -Value "10.57.45.XX" -PropertyType String -Force
New-ItemProperty -Path "HKCU:\Software\Microsoft\Windows\CurrentVersion\Internet Settings\ZoneMap\Ranges\Range1" -Name "*" -Value 1 -PropertyType DWord -Force
Poe supuesto como mas rapida y directa la opción 1
Y con esto y un bizcocho …..

Tecnología , cacharreo y domotica casera
Hola Antonio!! LLegue a tu web buscando un tutorial de como instalar un ZBDongle-E en un QNAP TS 251D pero aun ando bastante liado jaja ojala me puedas dar una mano si tienes un tiempo libre!! Abrazo desde Argentina!!
Buenos dias
Cuando quieras lo miramos
Saludos