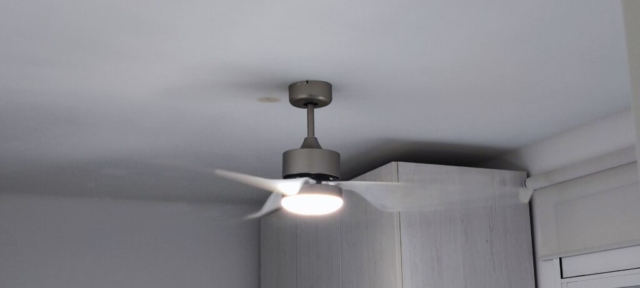
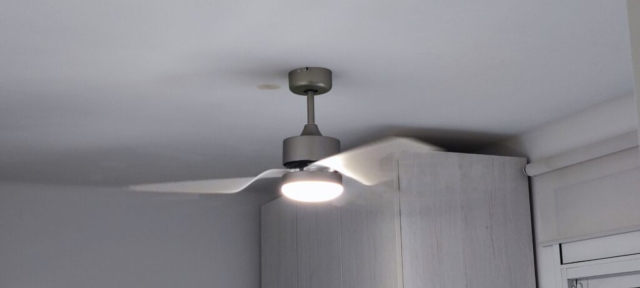
Una vez que tenemos configurado el Sonoff Ifan03 en nuestra red , tendremos que empezar a montar el ventilador que viene completamente desmontado.
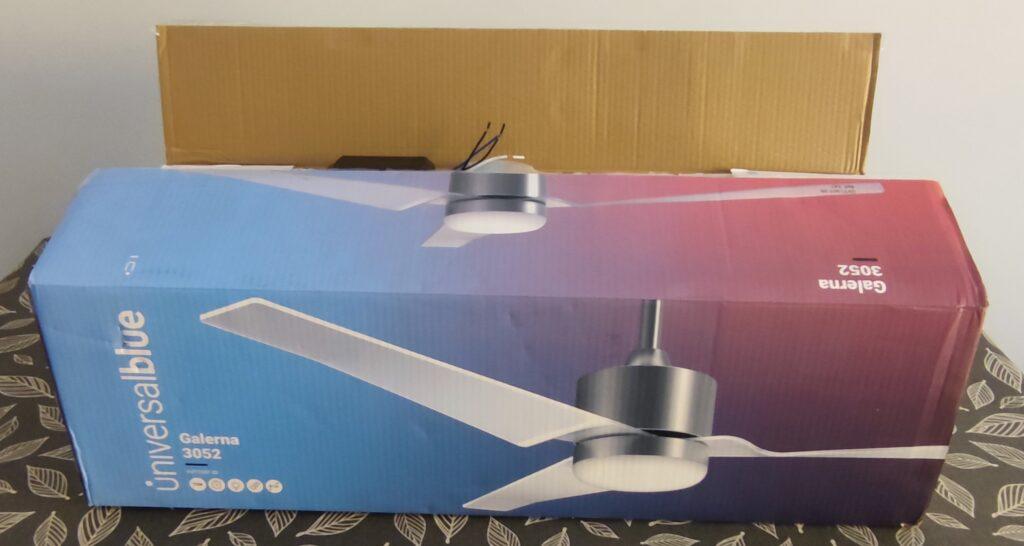
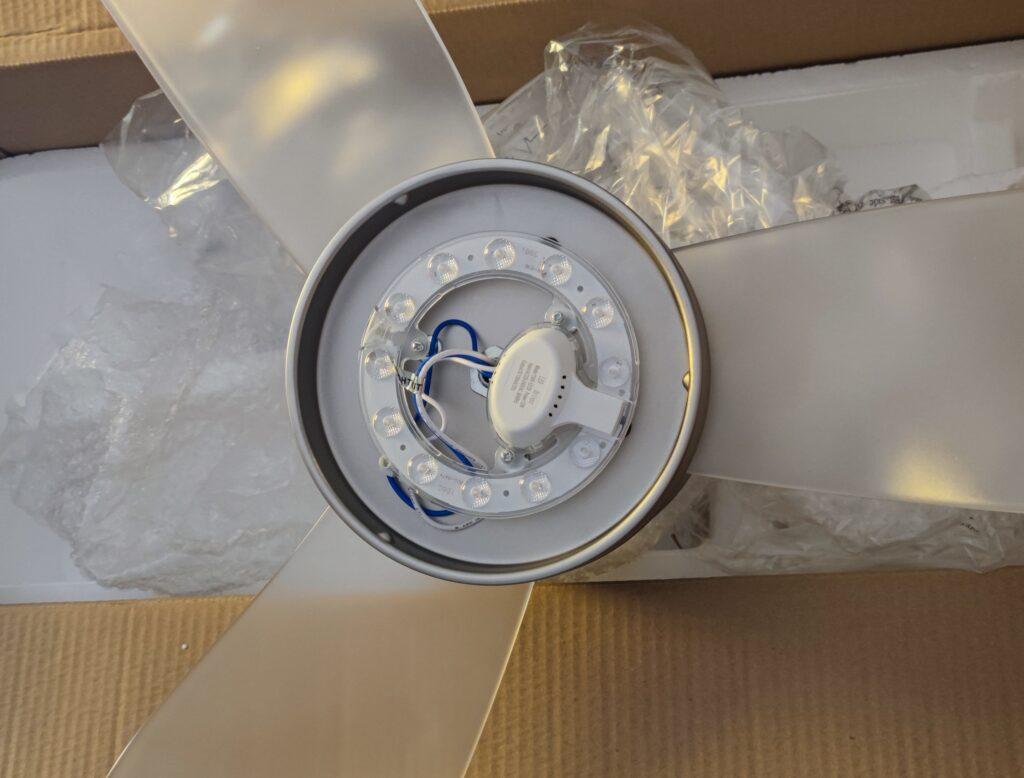
Este es el contenido de la caja de ventilador y todas sus partes , cómo dato curioso la luz led no va atornillada al plafón , va con tres pies magnéticos que nos permite extraer la parte de los leds fácilmente.
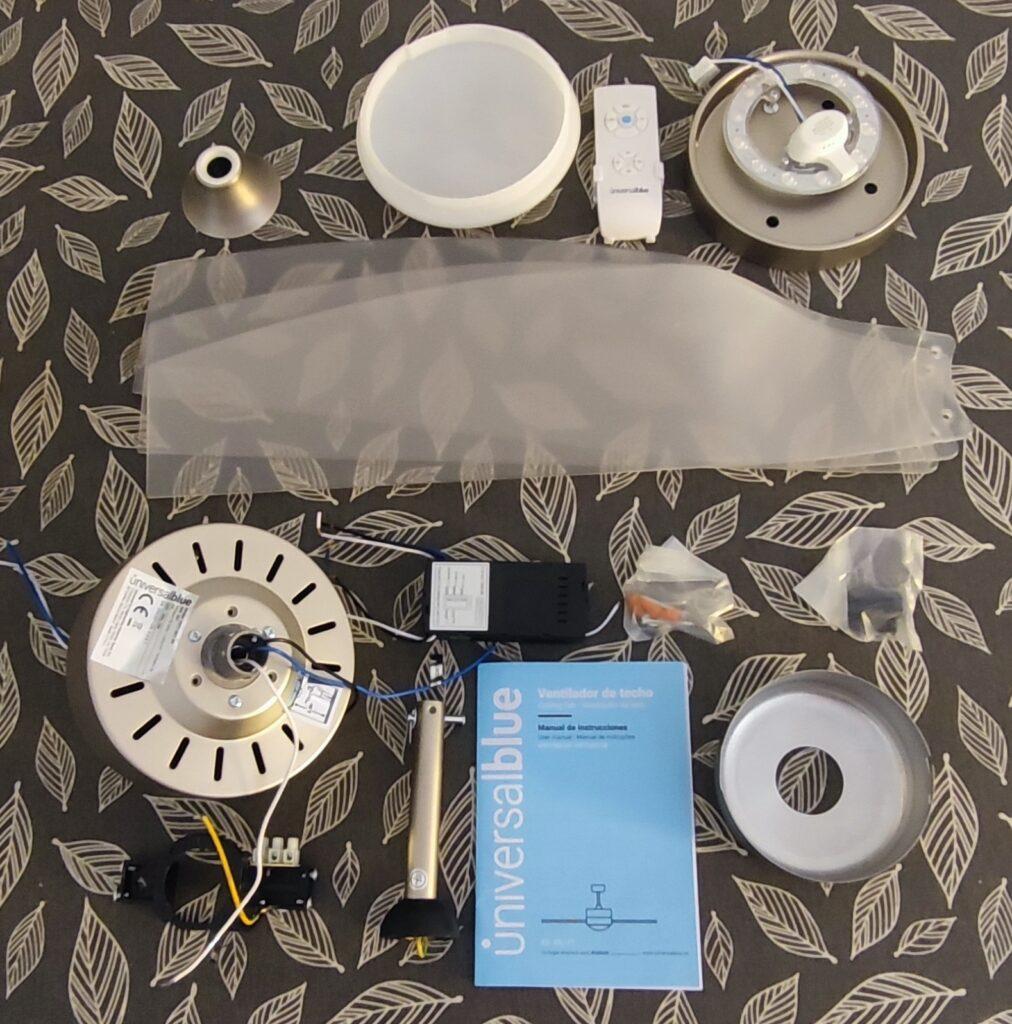
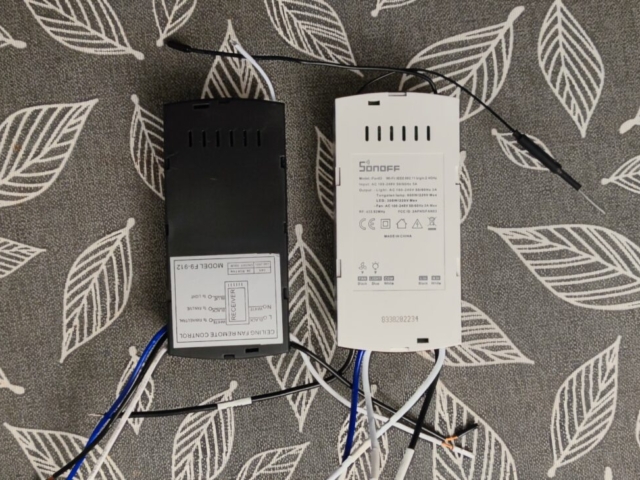
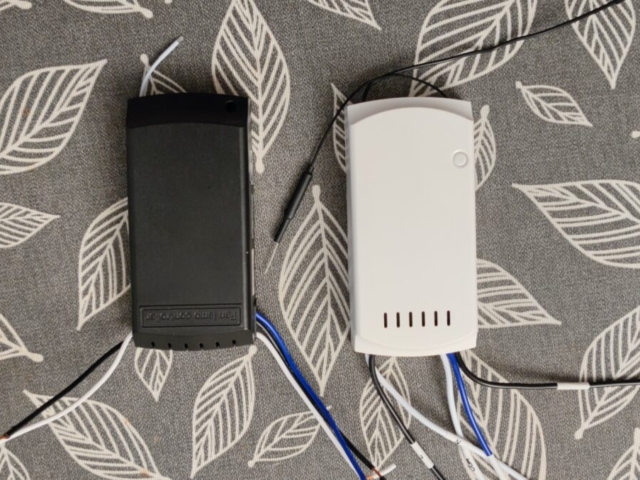
Ambos controladores tanto el original como el Ifan03 son muy similares en medidas por lo que no debería haber problema alguno a la hora de sustituirlo , incluso coinciden los colores de la señales en los cinco cables de ambos dispositivos
Empezaremos por montar las aspas y el plafón led del ventilador
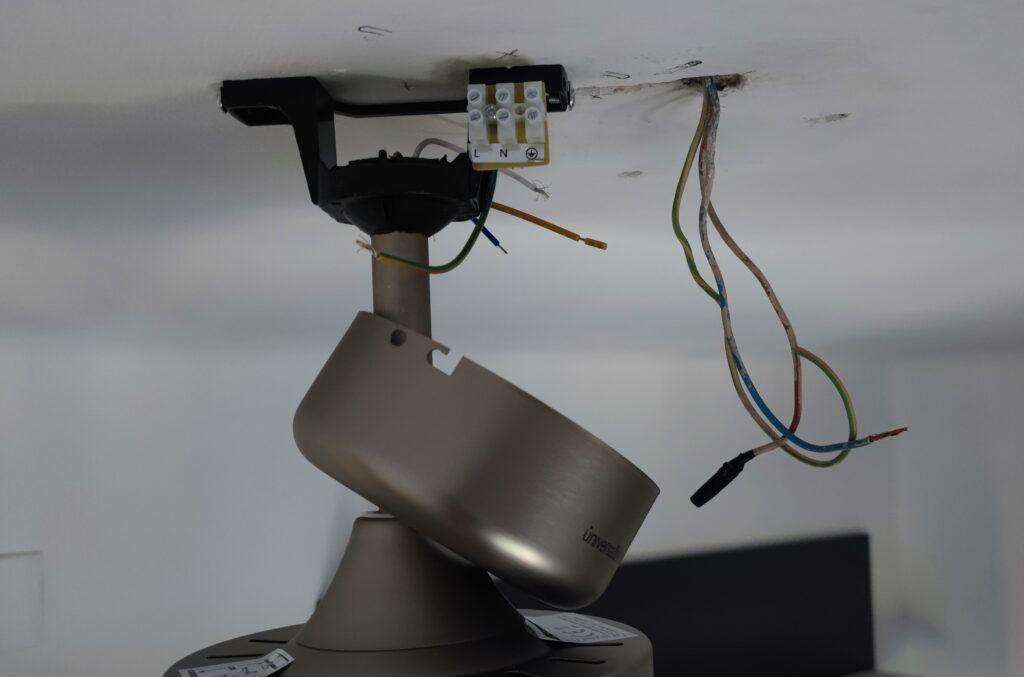
Lo fijaremos al techo y preparamos la instalación para darle alimentación al ventilador
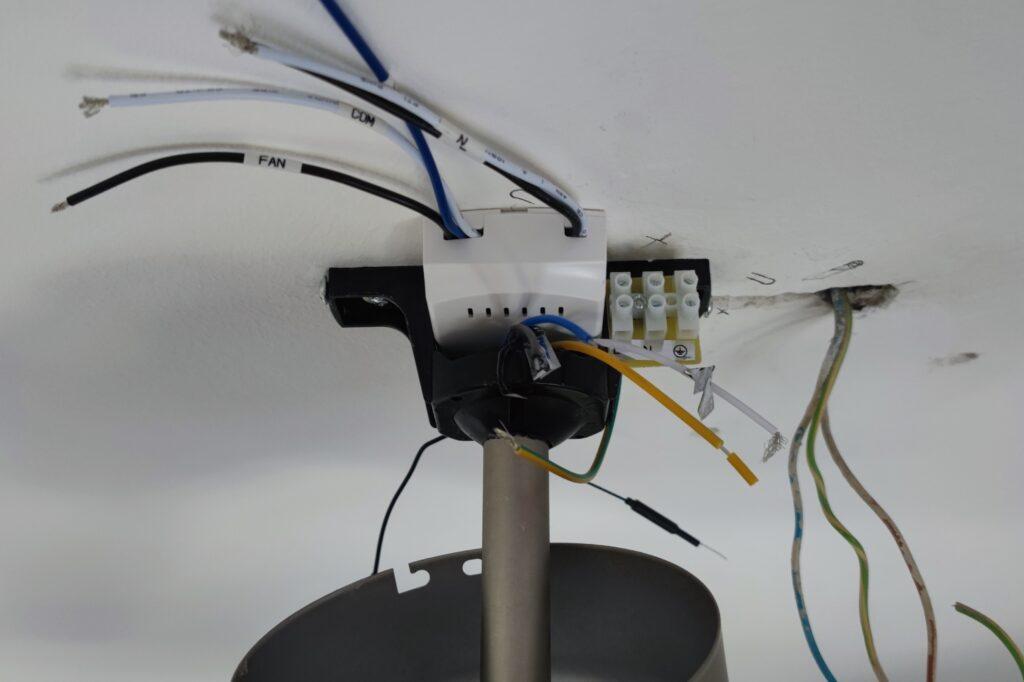
Ubicamos físicamente el Sonoff Ifan03 , puede ir un poco justo pero entra perfectamente
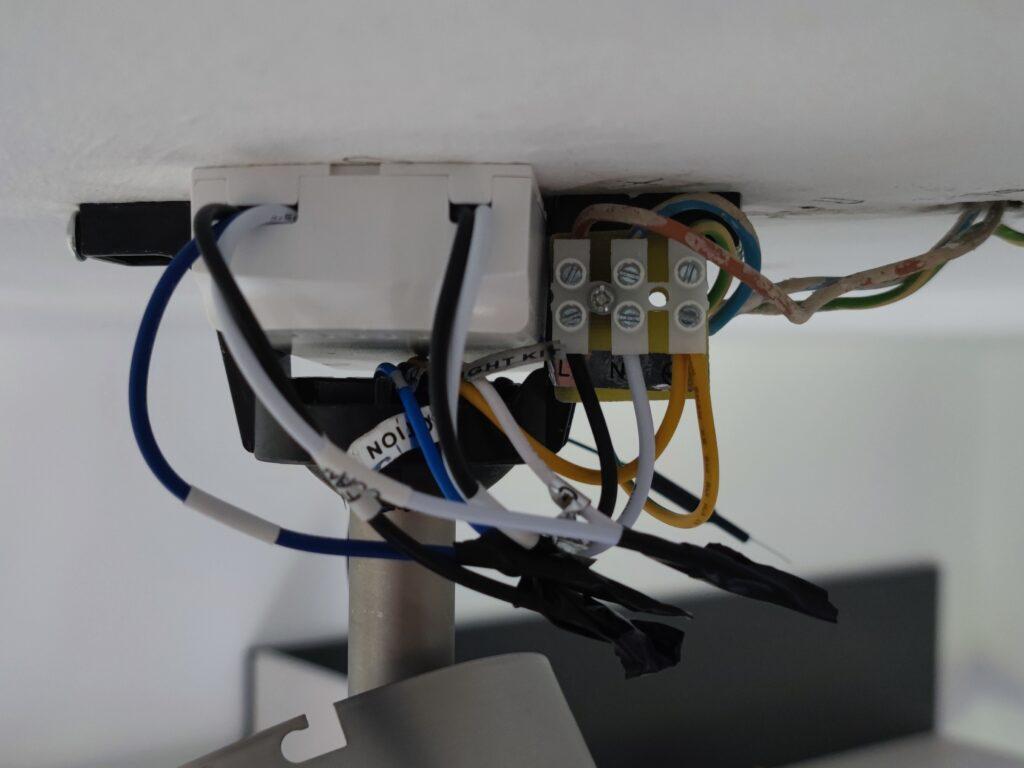
Ahora le daremos alimentación ( fase y neutro ) y conectaremos los tres cables de salida del Ifan03 al común , a la alimentación de la iluminación y a la alimentación del ventilador , en este caso coinciden los colores o sea que no tiene que haber perdida alguna.
Cerraremos el conjunto teniendo cuidado con las antenas wifi y 433
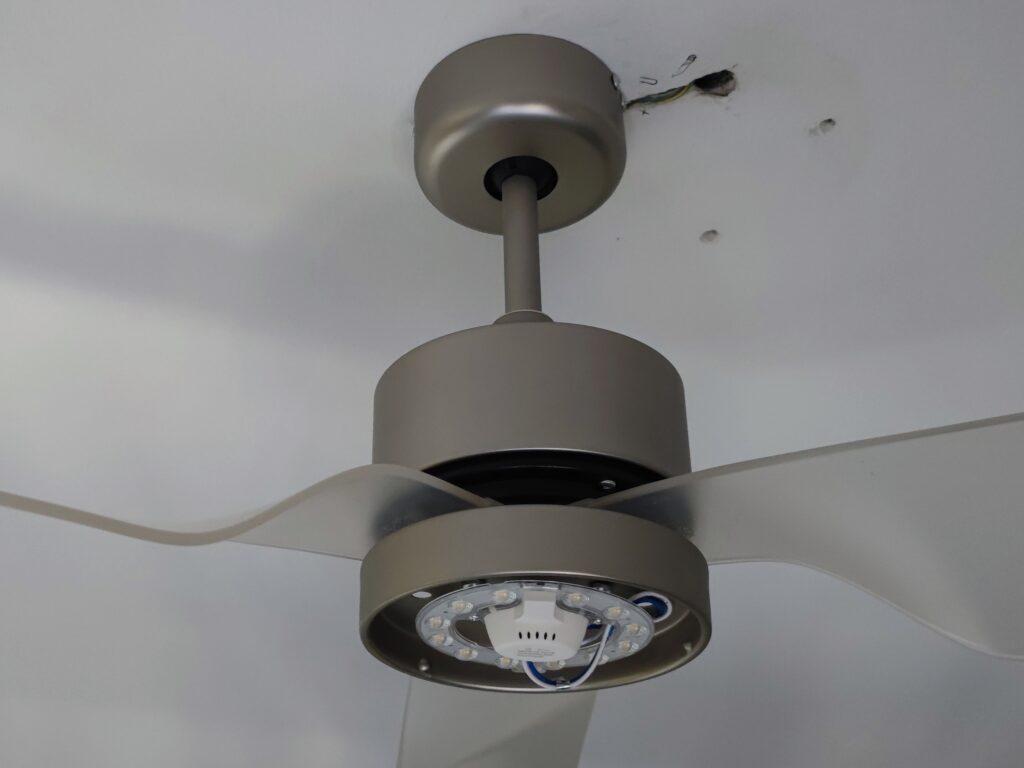
Probaremos que todas las funciones del ventilador funcionan correctamente con el mando a distancia
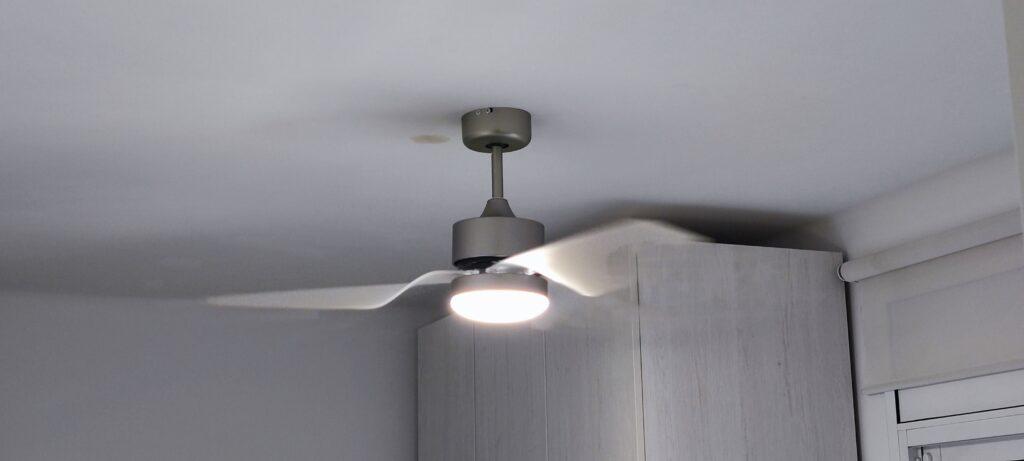
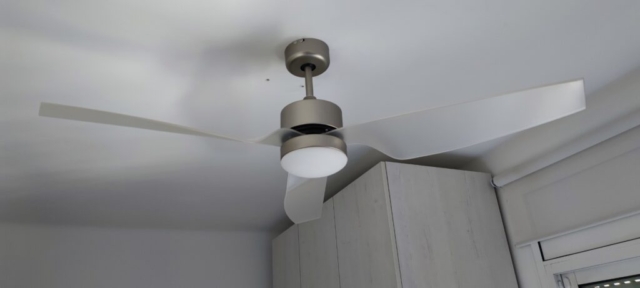
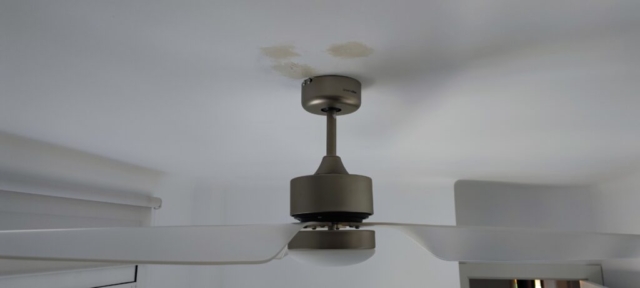
Así es como queda instalado , hay que darle alguna capa de aguaplast mas y pintar para que no se vea donde estaban los tacos que sujetaban el plafón que había instalado anteriormente
Ya solo nos queda crear las automatizaciones para controlar el ventilador
En mi caso según la posición del sol la luz del ventilador actúa con un par de tiras led que tengo instaladas , al ser pulsadores los que controlan la luz actuó según el estado previo de la luz del ventilador , estas son las automatizaciones para un solo click
###############################
#####    SINGLE CLICK     #####
###############################

- alias: luz Oriol single 1 y 2 ON Tramo 1
  # Encendemos la luz ya que esta apagada y ponemos el brillo en funcion de noche o dia
  initial_state: 'on'
  trigger:
    - platform: state
      entity_id: sensor.puls_conmut_1_oriol_evento
      to: 'single'
    - platform: state
      entity_id: sensor.puls_conmut_2_oriol_evento
      to: 'single'
  condition:
    - condition: state
      entity_id: light.sonoff_1000a81d75_1
      state: 'off'
    - condition: sun
      after: sunrise
      after_offset: "00:30:00"
    - condition: time
      before: "22:30:00"
  action:
    - service: light.turn_on
      entity_id: light.sonoff_1000a81d75_1
    - service: light.turn_on
      data:
        entity_id: light.tira_led_cama_oriol
        brightness_pct: 100
        rgb_color: [0,0,0]
        white_value: 255
    - service: light.turn_on
      data:
        entity_id: light.tira_led_mesa_oriol
        brightness_pct: 100
        rgb_color: [0,0,0]
        white_value: 255

- alias: luz Oriol single 1 y 2 ON Tramo 2
  # Encendemos la luz ya que esta apagada y ponemos el brillo en funcion de noche o dia
  initial_state: 'on'
  trigger:
    - platform: state
      entity_id: sensor.puls_conmut_1_oriol_evento
      to: 'single'
    - platform: state
      entity_id: sensor.puls_conmut_2_oriol_evento
      to: 'single'

  condition:
    - condition: state
      entity_id: light.sonoff_1000a81d75_1
      state: 'off'
    - condition: time
      after: "22:30:00"
      before: "02:00:00"
  action:
    - service: light.turn_on
      entity_id: light.sonoff_1000a81d75_1
    - service: light.turn_on
      data:
        entity_id: light.tira_led_cama_oriol
        brightness_pct: 5
        rgb_color: [0,0,0]
        white_value: 255
    - service: light.turn_off
      entity_id: light.tira_led_mesa_oriol


- alias: luz Oriol single 1 y 2 ON Tramo 3
  # Encendemos la luz ya que esta apagada y ponemos el brillo en funcion de noche o dia
  initial_state: 'on'
  trigger:
    - platform: state
      entity_id: sensor.puls_conmut_1_oriol_evento
      to: 'single'
    - platform: state
      entity_id: sensor.puls_conmut_2_oriol_evento
      to: 'single'

  condition:
    - condition: state
      entity_id: light.sonoff_1000a81d75_1
      state: 'off'
    - condition: time
      after: "02:00:00"
    - condition: sun
      before: sunrise
      before_offset: "00:30:00"
  action:
    - service: light.turn_off
      entity_id: light.sonoff_1000a81d75_1
    - service: light.turn_on
      data:
        entity_id: light.tira_led_cama_oriol
        brightness_pct: 5
        rgb_color: [0,0,0]
        white_value: 255
    - service: light.turn_off
      entity_id: light.tira_led_mesa_oriol

- alias: luz Oriol single 1 y 2 OFF
  # Apagamos
  initial_state: 'on'
  trigger:
    - platform: state
      entity_id: sensor.puls_conmut_1_oriol_evento
      to: 'single'
    - platform: state
      entity_id: sensor.puls_conmut_2_oriol_evento
      to: 'single'
  condition:
    - condition: state
      entity_id: light.sonoff_1000a81d75_1
      state: 'on'
  action:
    - service: light.turn_off
      entity_id: light.sonoff_1000a81d75_1
    - service: light.turn_off
      entity_id: light.tira_led_cama_oriol
    - service: light.turn_off
      entity_id: light.tira_led_mesa_oriol
Para el doble click según el estado previo de la luz del ventilador enciendo o apago la luz del ventilador y las dos tiras led de la habitación , estas son las automatizaciones para el doble click
###############################
#####    DOUBLE CLICK     #####
###############################

- alias: luz Oriol doble 1 y 2 ON
  initial_state: 'on'
  trigger:
    - platform: state
      entity_id: sensor.puls_conmut_1_oriol_evento
      to: 'double'
    - platform: state
      entity_id: sensor.puls_conmut_2_oriol_evento
      to: 'double'

  condition:
    - condition: state
      entity_id: light.sonoff_1000a81d75_1
      state: 'off'
  action:
    - service: light.turn_on
      entity_id: light.sonoff_1000a81d75_1
    - service: light.turn_on
      data:
        entity_id: light.tira_led_cama_oriol
        brightness_pct: 100
        rgb_color: [0,0,0]
        white_value: 255
    - service: light.turn_on
      data:
        entity_id: light.tira_led_mesa_oriol
        brightness_pct: 100
        rgb_color: [0,0,0]
        white_value: 255

- alias: luz Oriol doble 1 y 2 OFF
  initial_state: 'on'
  trigger:
    - platform: state
      entity_id: sensor.puls_conmut_1_oriol_evento
      to: 'double'
    - platform: state
      entity_id: sensor.puls_conmut_2_oriol_evento
      to: 'double'
  condition:
    - condition: state
      entity_id: light.sonoff_1000a81d75_1
      state: 'on'
  action:
    - service: light.turn_off
      entity_id: light.sonoff_1000a81d75_1
    - service: light.turn_off
      entity_id: light.tira_led_cama_oriol
    - service: light.turn_off
      entity_id: light.tira_led_mesa_oriol
Para el pulsado sostenido o hold apago directamente los tres elementos
##############################
#####    LONG PRESS      #####
##############################

- alias: luz Oriol hold press 1 y 2 apagar todo
  initial_state: 'on'
  trigger:
    - platform: state
      entity_id: sensor.puls_conmut_1_oriol_evento
      to: 'hold'
    - platform: state
      entity_id: sensor.puls_conmut_2_oriol_evento
      to: 'hold'
  action:
    - service: light.turn_off
      entity_id: light.sonoff_1000a81d75_1
    - service: light.turn_off
      entity_id: light.tira_led_cama_oriol
    - service: light.turn_off
      entity_id: light.tira_led_mesa_oriol
Y este seria el resultado final de todo lo comentado
Y con esto y un bizcocho …………………
