
Desde hacia unos días el robot aspirador cuando estaba en modo fregado no gastaba el agua del tanque , y la mopa salía seca completamente.
Lo primero fue comprobar que salía agua por las dos salidas del deposito de agua , y sin agua soplar para comprobar que tanto por un conducto como por el otro había paso libre para el liquido.
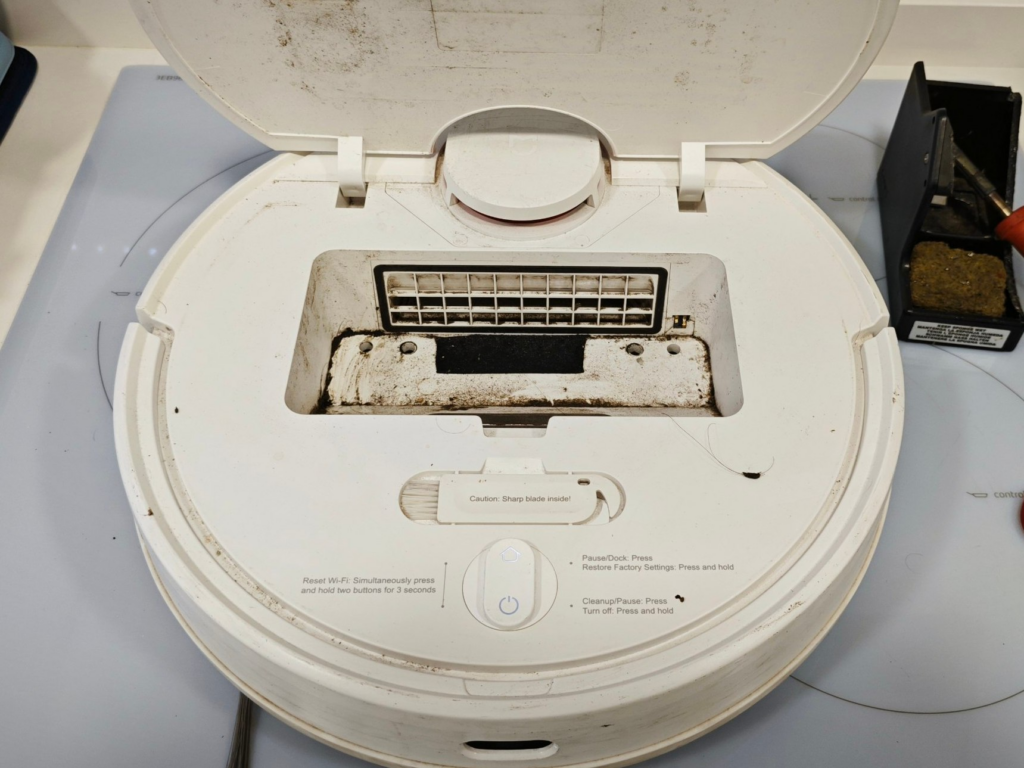
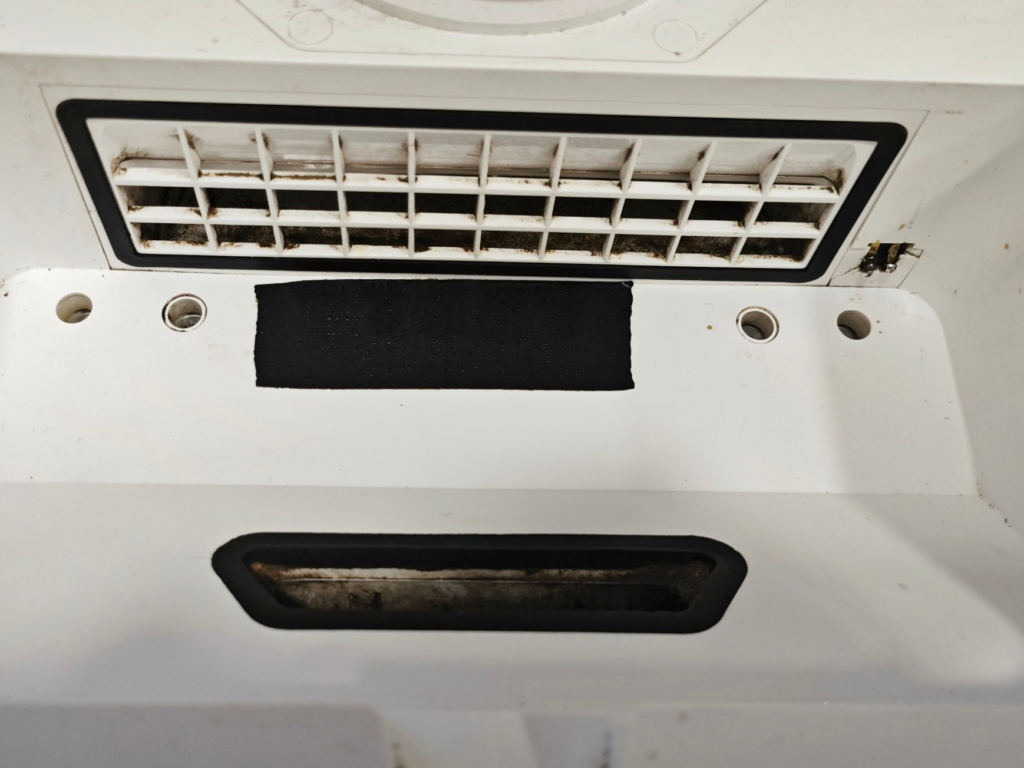
Una vez descartada cualquier obstrucción observe que el conector del aspirador al deposito de agua estaba sulfatado , este conector es el que esta ubicado en el circulo rojo
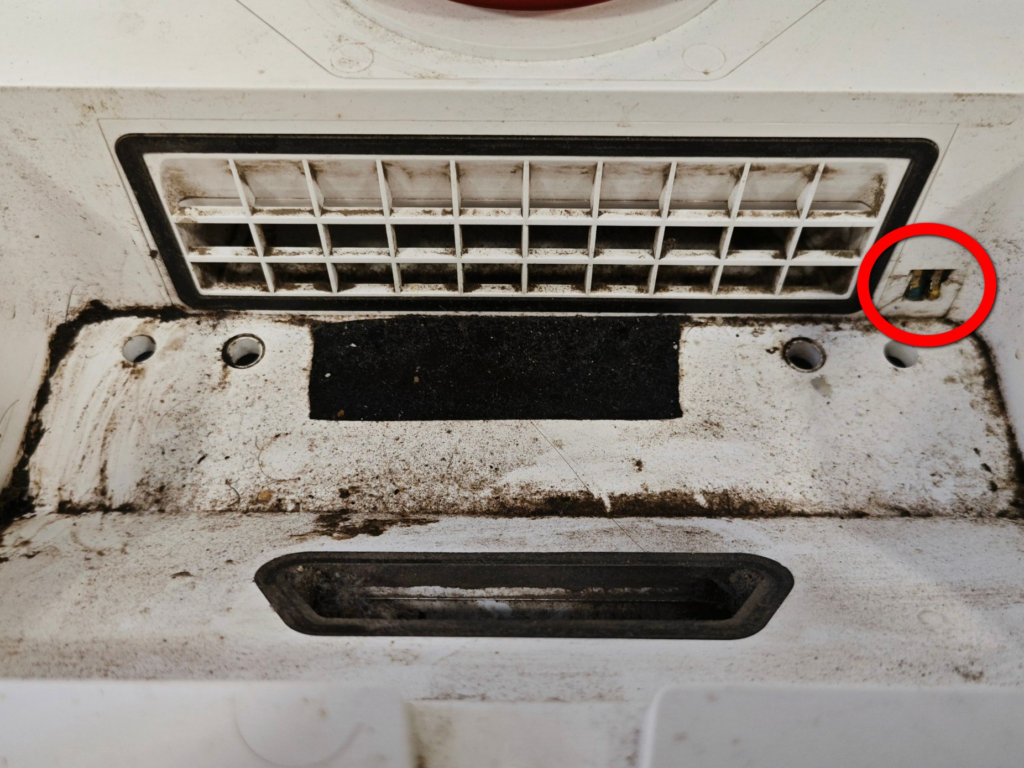
Aquí se observa como esta sulfatado el contacto de la izquierda , imposibilitando la conexión correcta entre el deposito y el robot.
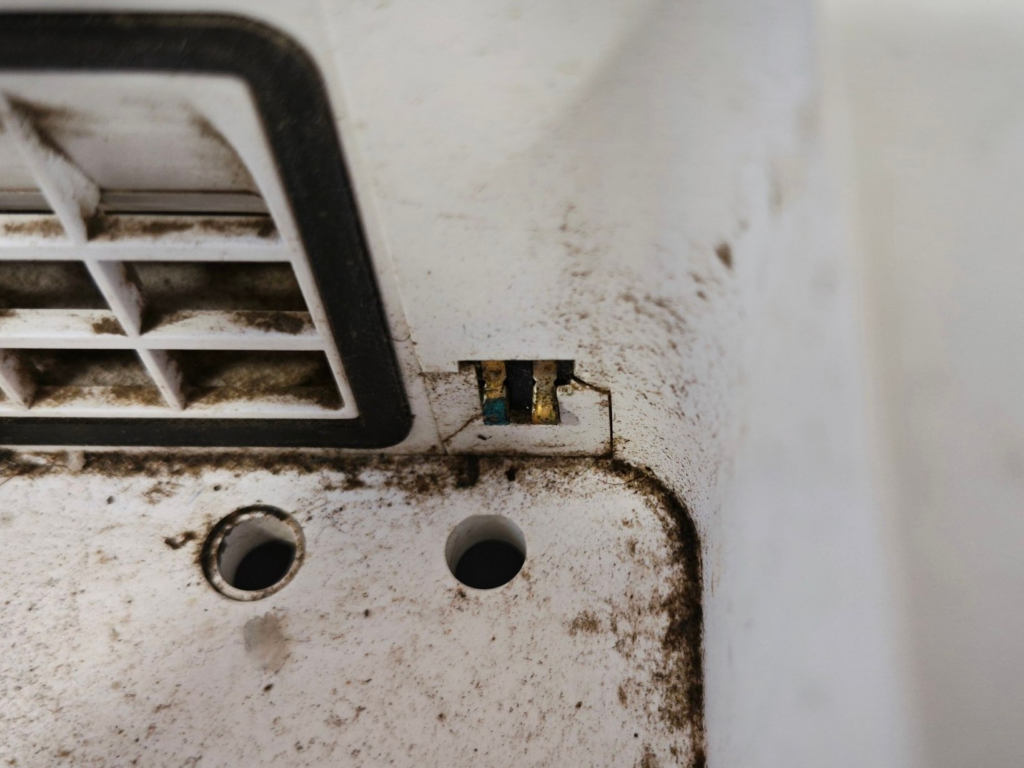
Una vez limpio tanto como se pueda del sulfato procedemos a poner una gota de estaño en cada uno de los conectores para aumentar tanto la superficie como el grosor del conector
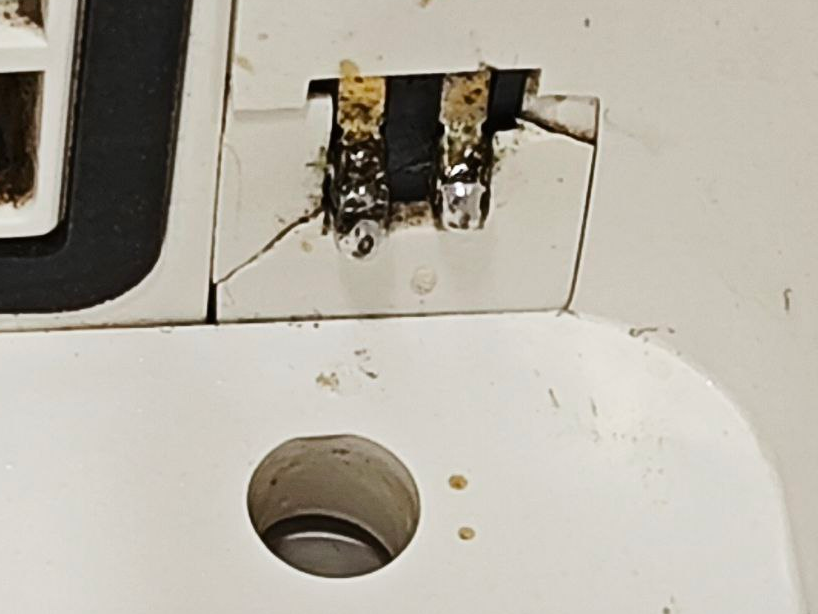
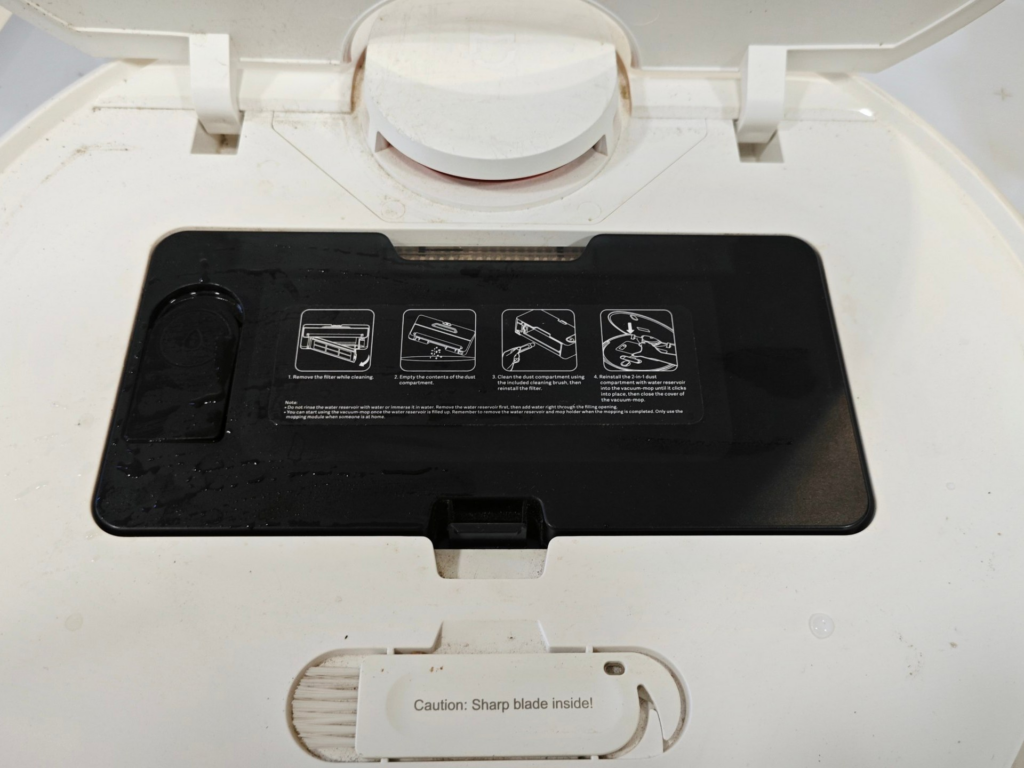
Limpiamos todo el habitáculo y lo secamos bien
Ponemos de nuevo el deposito de agua
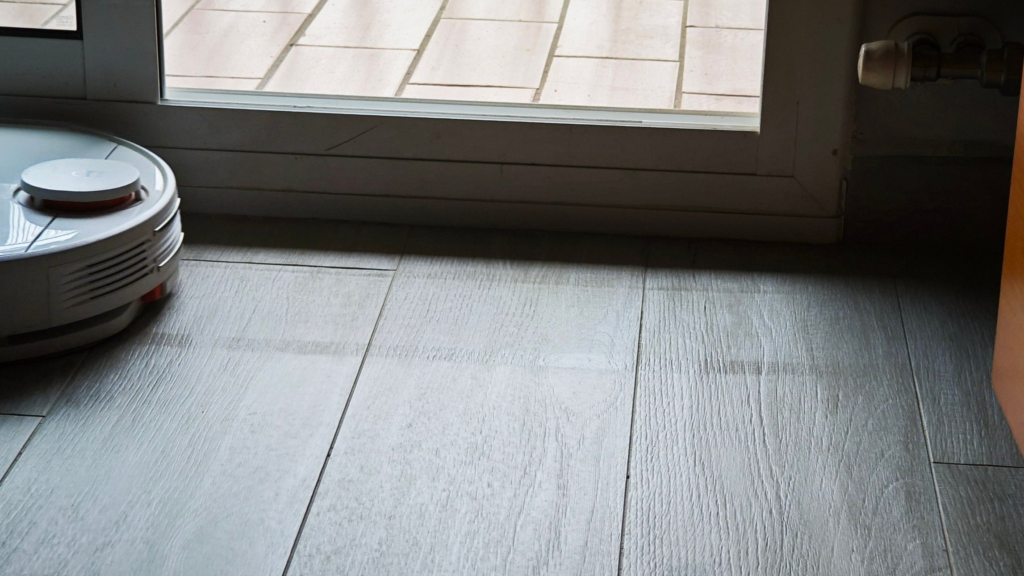
Aquí ya podemos como empieza a mojar la mopa con el agua del deposito
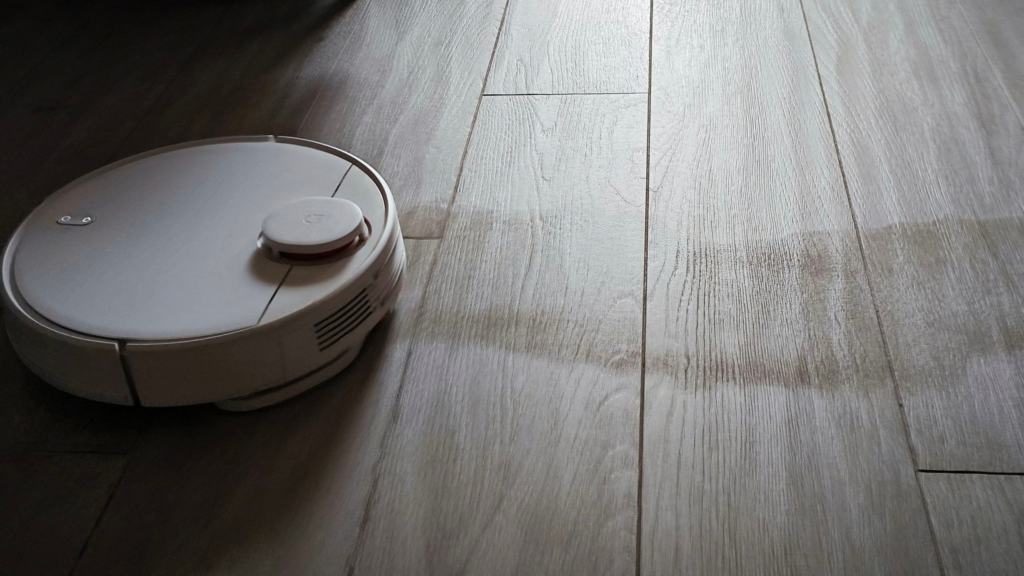
En esta se observa nítidamente como extiende de forma uniforme el agua
Y con esto y un bizcocho …..